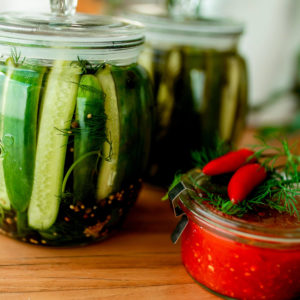
Nana’s Pickled Cucumbers
I remember vividly standing on a stool to reach Nana’s kitchen bench as I ‘helped’ her with preserves. Nana and Pa loved Christmas. Presents were ready for us to investigate in secret months before, carols played throughout December and rather than writing names on tags, Pa would create rhyming poems about each person so we had to guess who the gift was for.
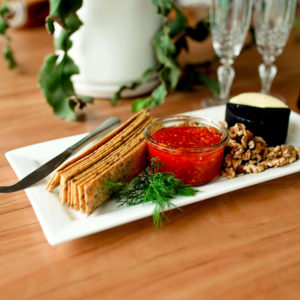
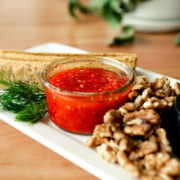
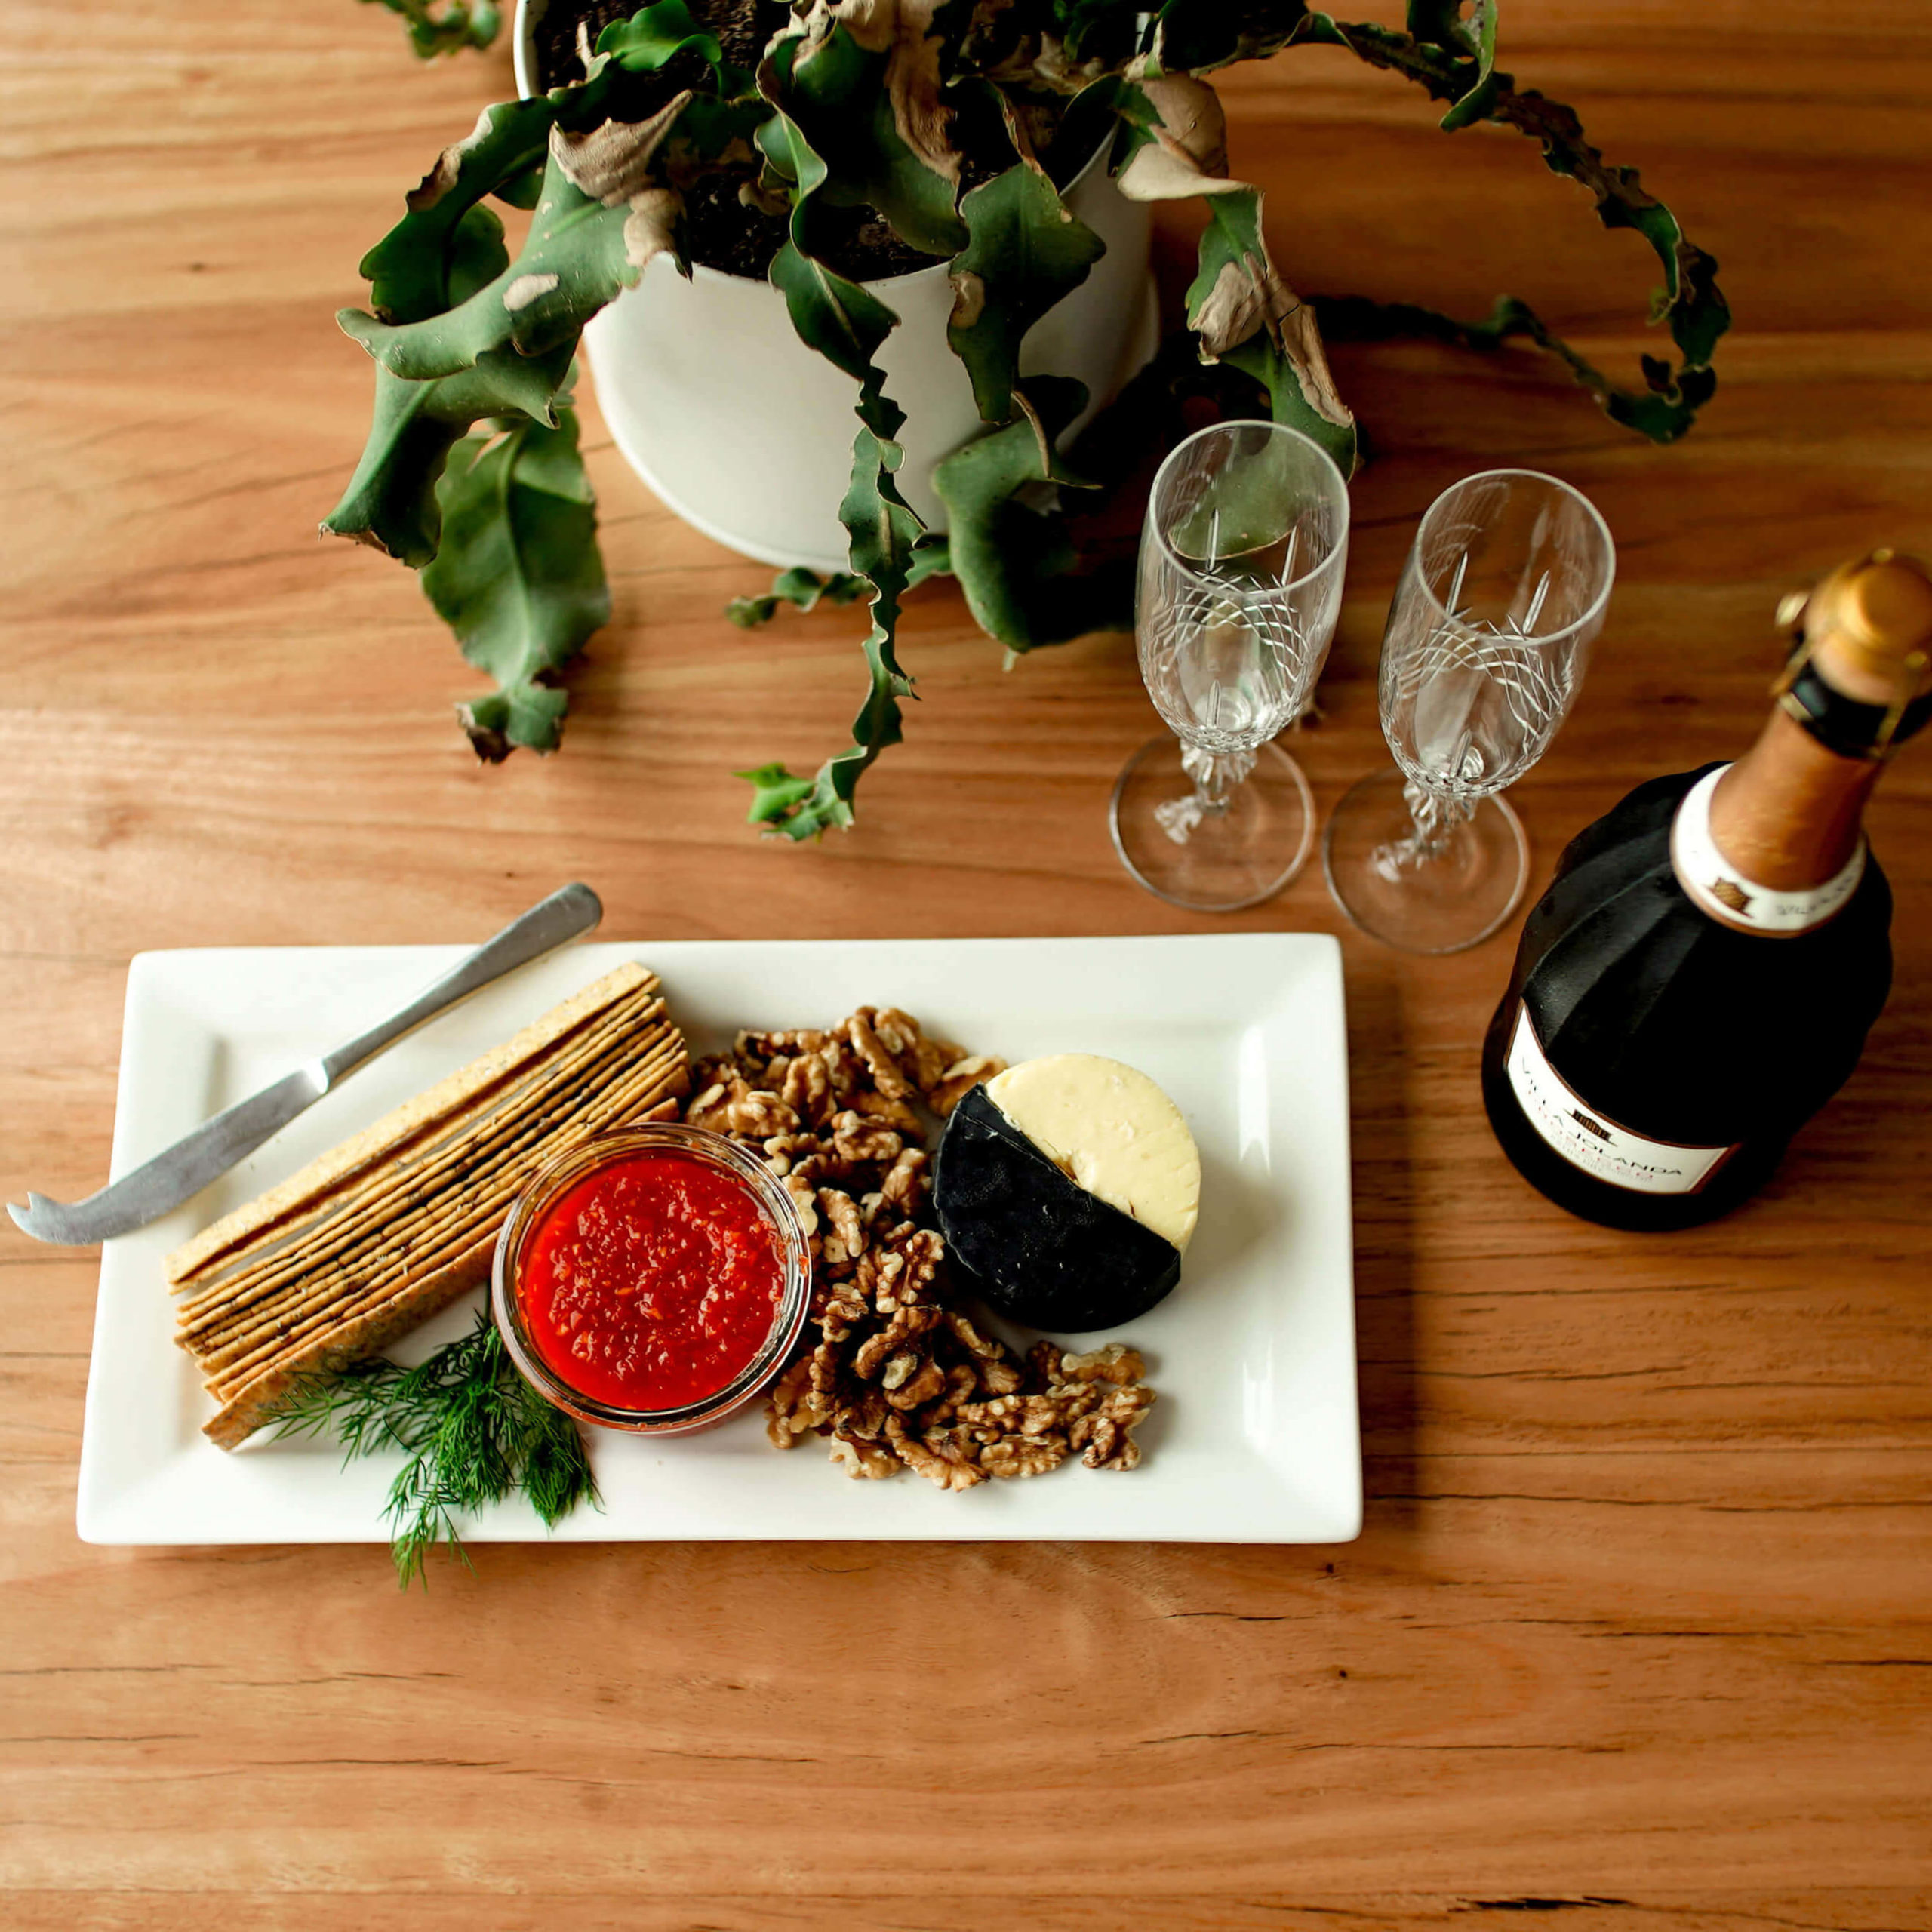
They are memories I treasure, and I love to find time to make preserves for the Christmas period to continue such family traditions. This recipe is my favourite! To confess, that’s mainly because it is so quick and easy that I can either involve the kids, or do it quietly in the limited time after they go to bed. It also works really on platters when entertaining before Christmas, and it is amazing with left over Christmas Ham!
Pickled Cucumbers
- 1kg Small Cucumber (I like to make a few large jars)
- 1 Bunch Dill Leaves
- 1 Tablespoon Peppercorns
- 1 Teaspoon Yellow Mustard Speeds
- Between 1/2 – 1 cup White Wine Vinegar*
- Between 3 cups – 6 cups water*
- Between 3 – 6 Tablespoons Sea Salt*
Four Easy Steps for Pickling
Before you start you will need to sterilise your jars. I used to two 850ml Glass Jars. To sterilise, I find it easiest to simply place the jars into a deep saucepan, cover with water and then bring the water to the boil as I prepare everything. The jars are obviously very hot, so take extra care when removing, and filling the jars.
- Wash your Cucumbers, dry and cut. I like to quarter mine longways, as I think they look their best, however you can cut into slices for a more traditional result if you prefer
- Combine 1/2 cup White Wine Vinegar, 3 cups water and 3 Tablespoons Salt into a saucepan and bring to boil*
- Layer the Cucumber, Dill Leaves, Peppercorns and Mustard Seeds into jars
- Pour the hot mixture over the jar contents and seal the jar immediately. *The amount of Vinegar, Water and Salt you require will vary dramatically depending on the jar size and design, and how closely packed the cucumbers are. If your jars don’t fill to the top, simply boil extra Vinegar, Water and Salt to the same relative quantities until you have enough to fill the jars to the brim.
Your Pickles Cucumbers will be ready to eat after a week, and will continue to get better for up to 6 months. Store the jar at room temperature until opened, and then once opened in the fridge to stay fresh. The jars will last up to 6 months unopened, and a few weeks in the fridge once opened. (Although they never last that long in our house!)
We would love to hear your favourite food traditions for the festive summer period.
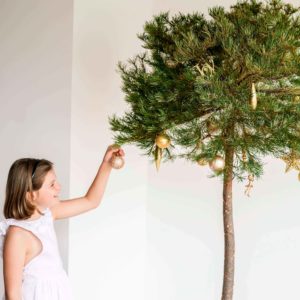
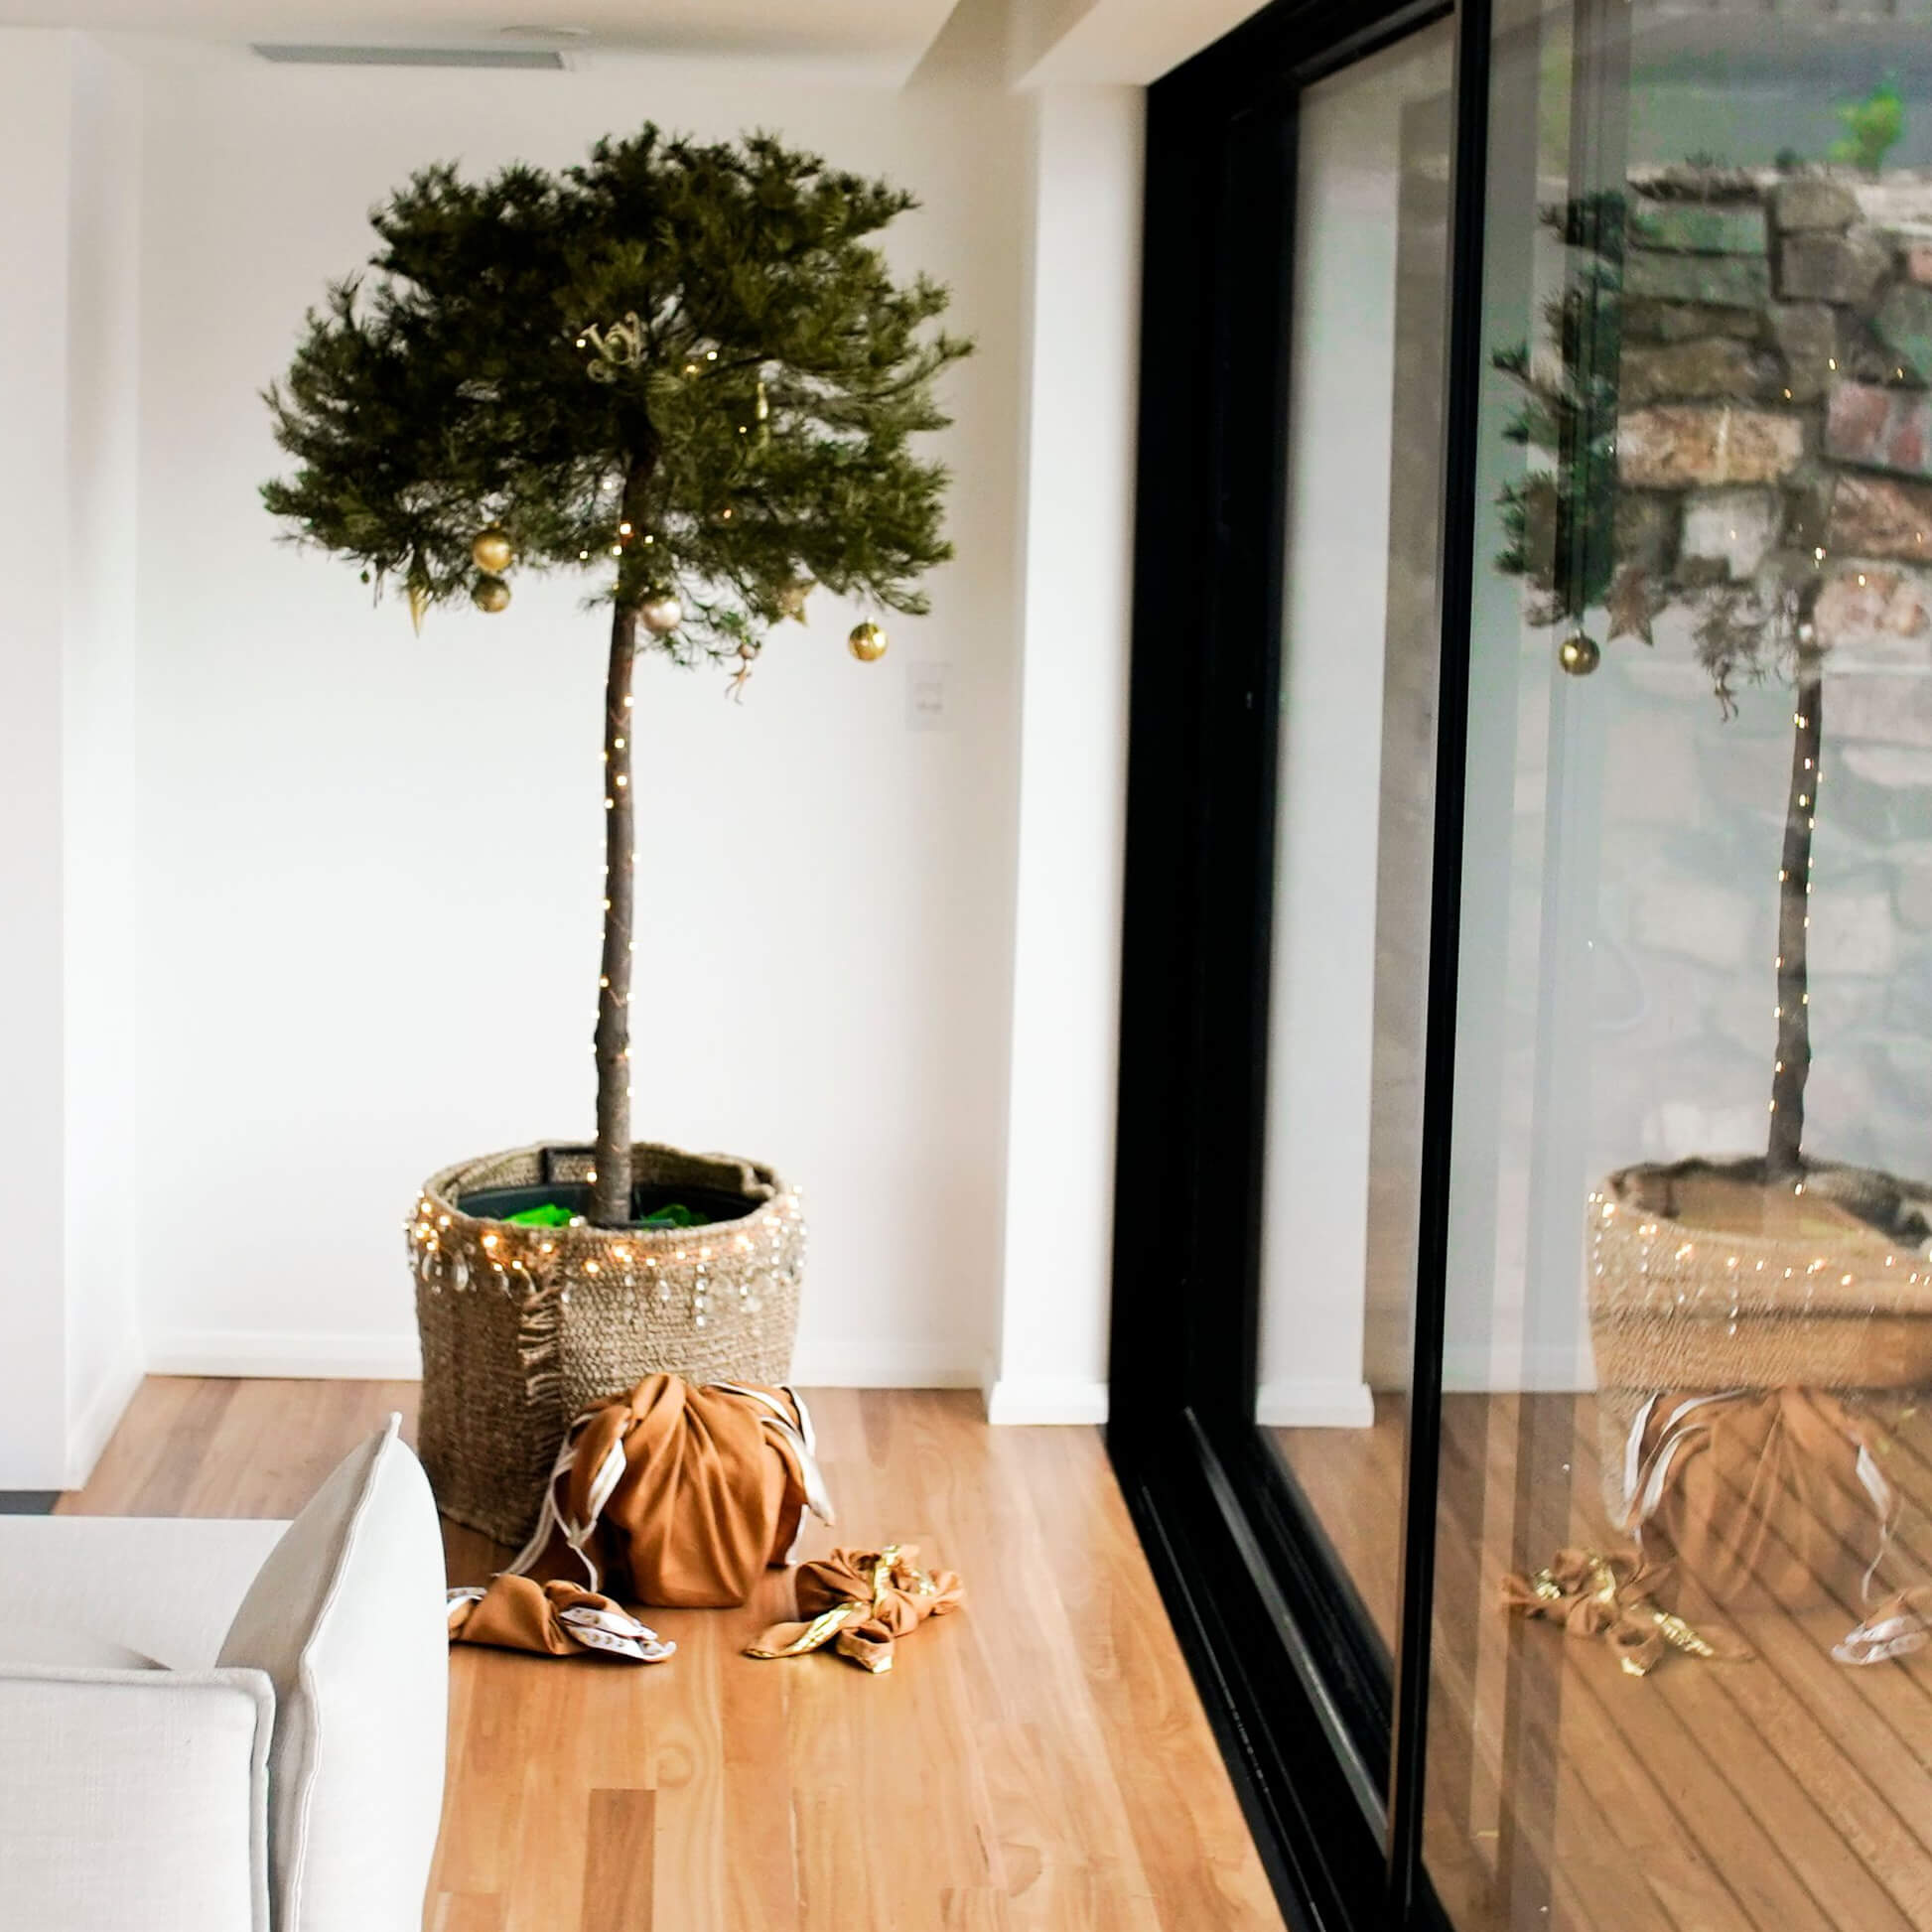
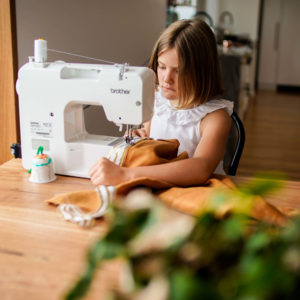
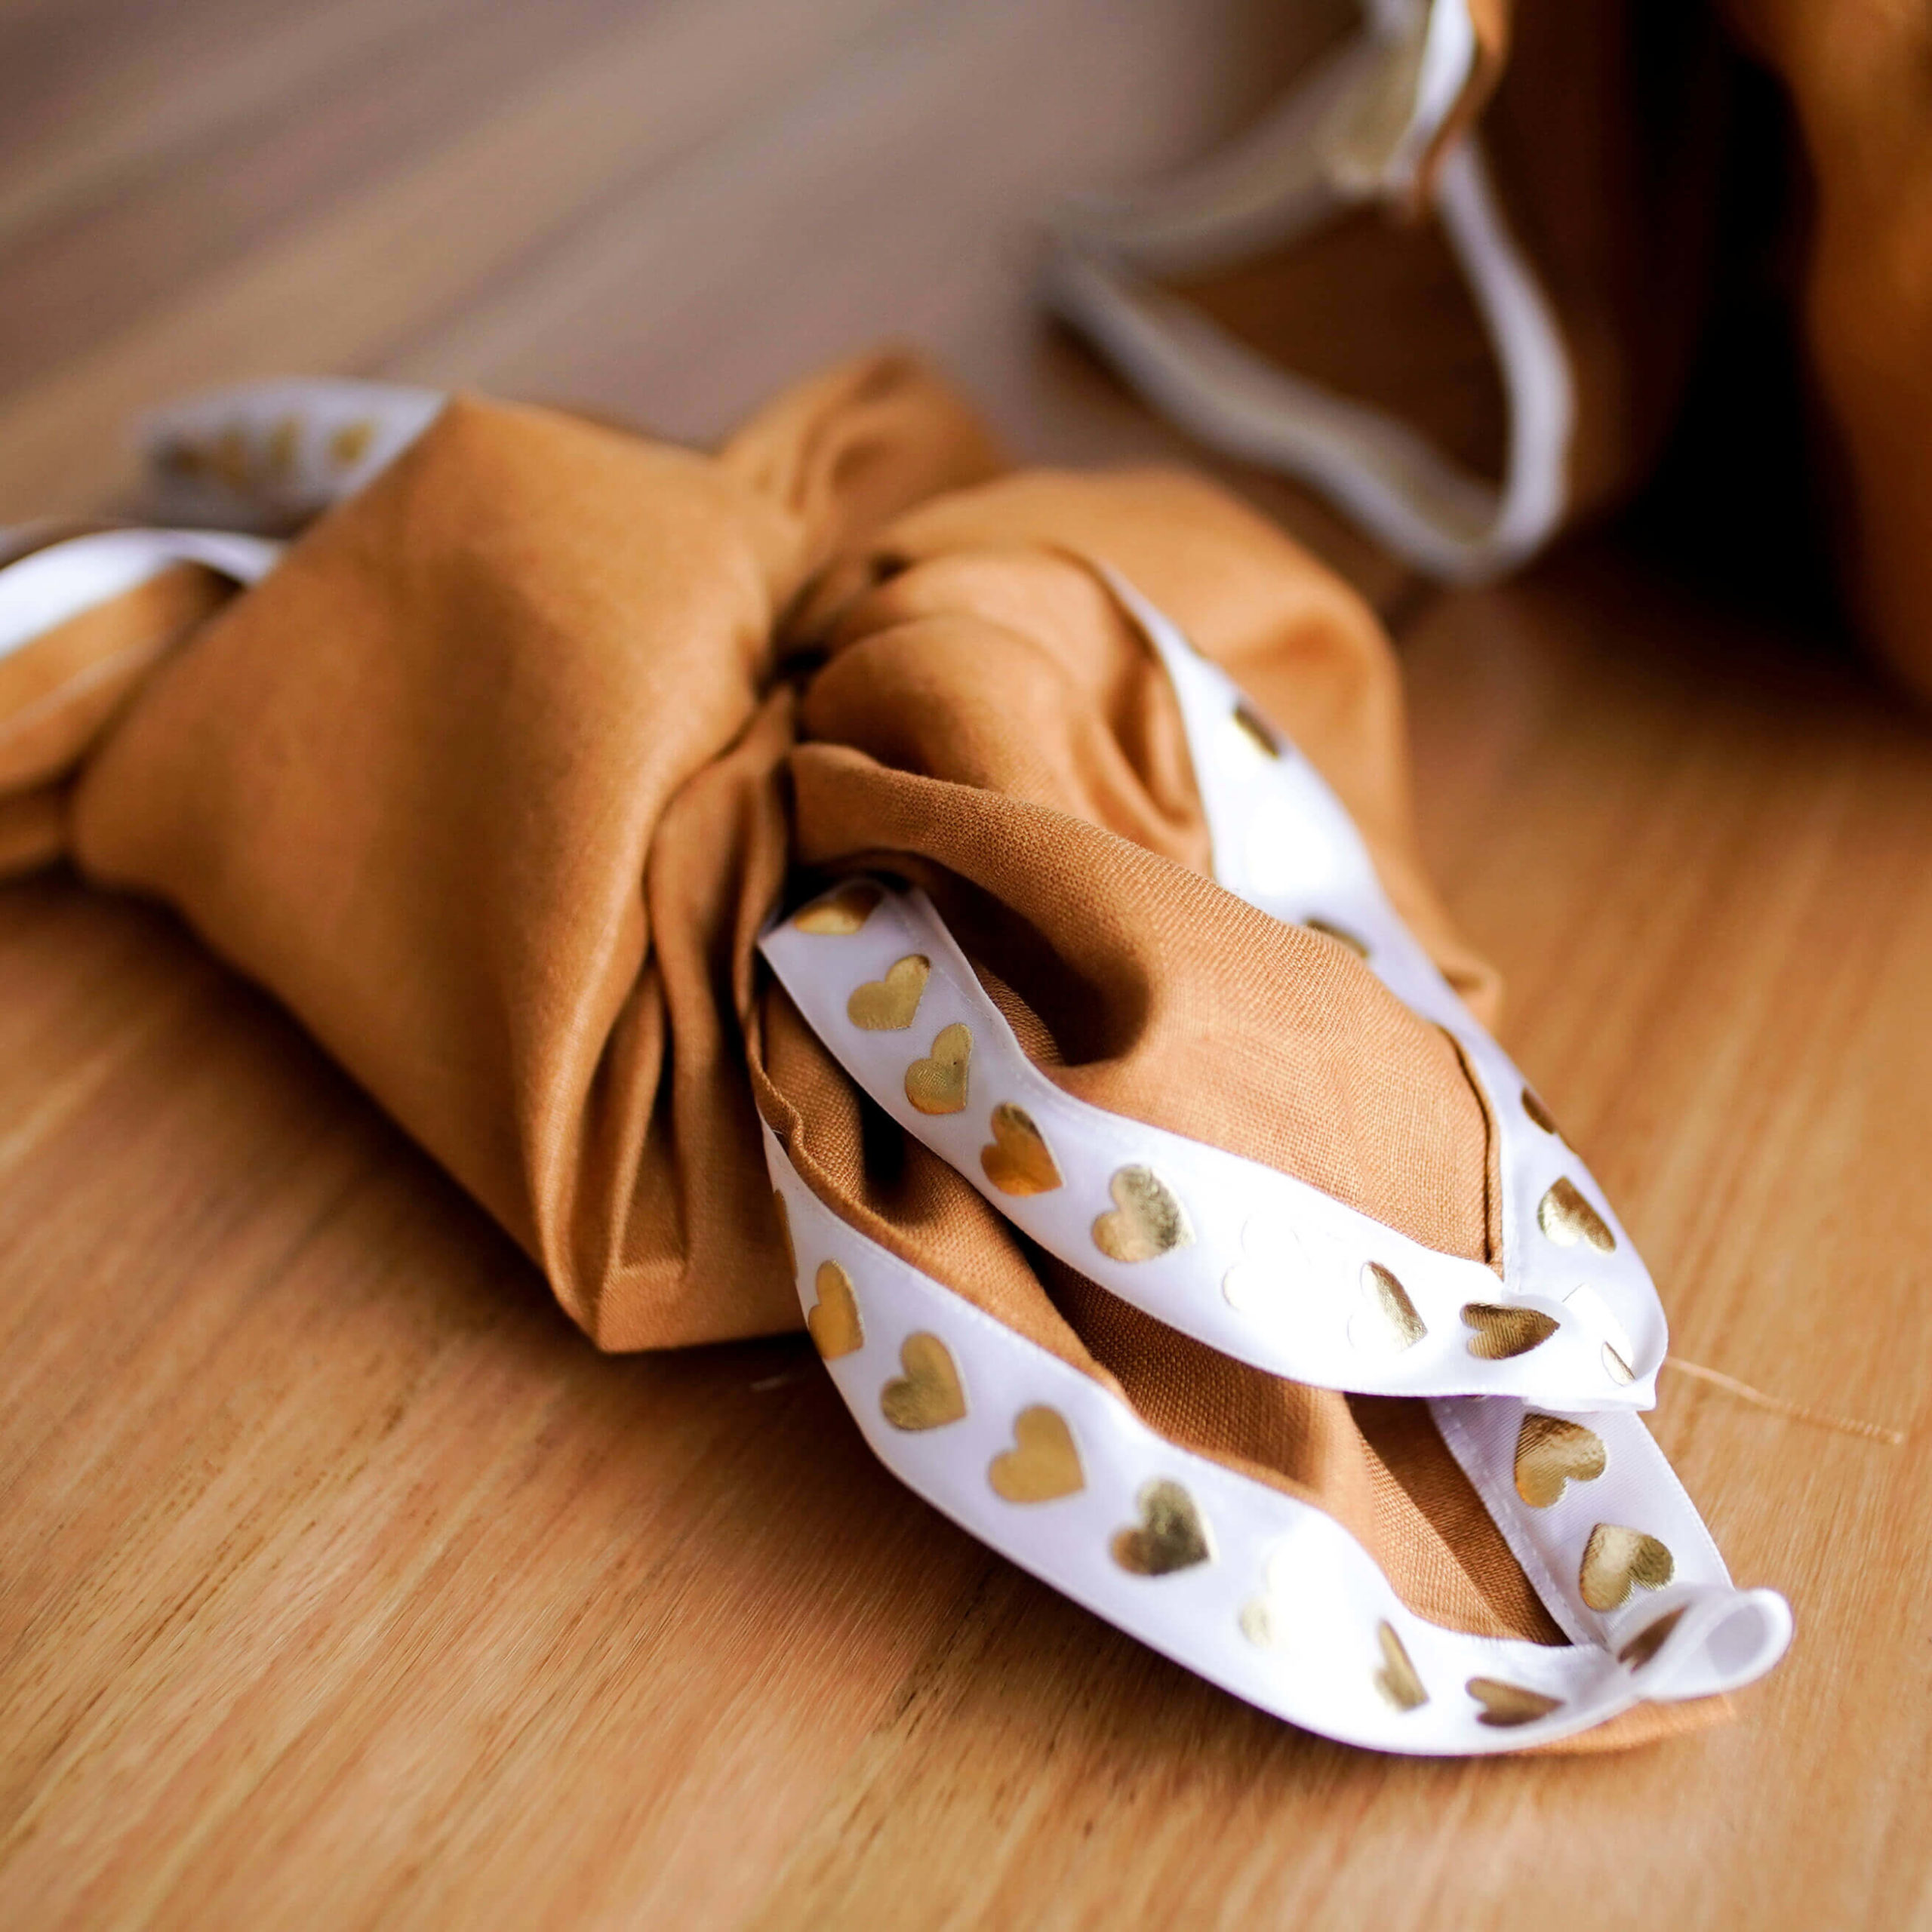
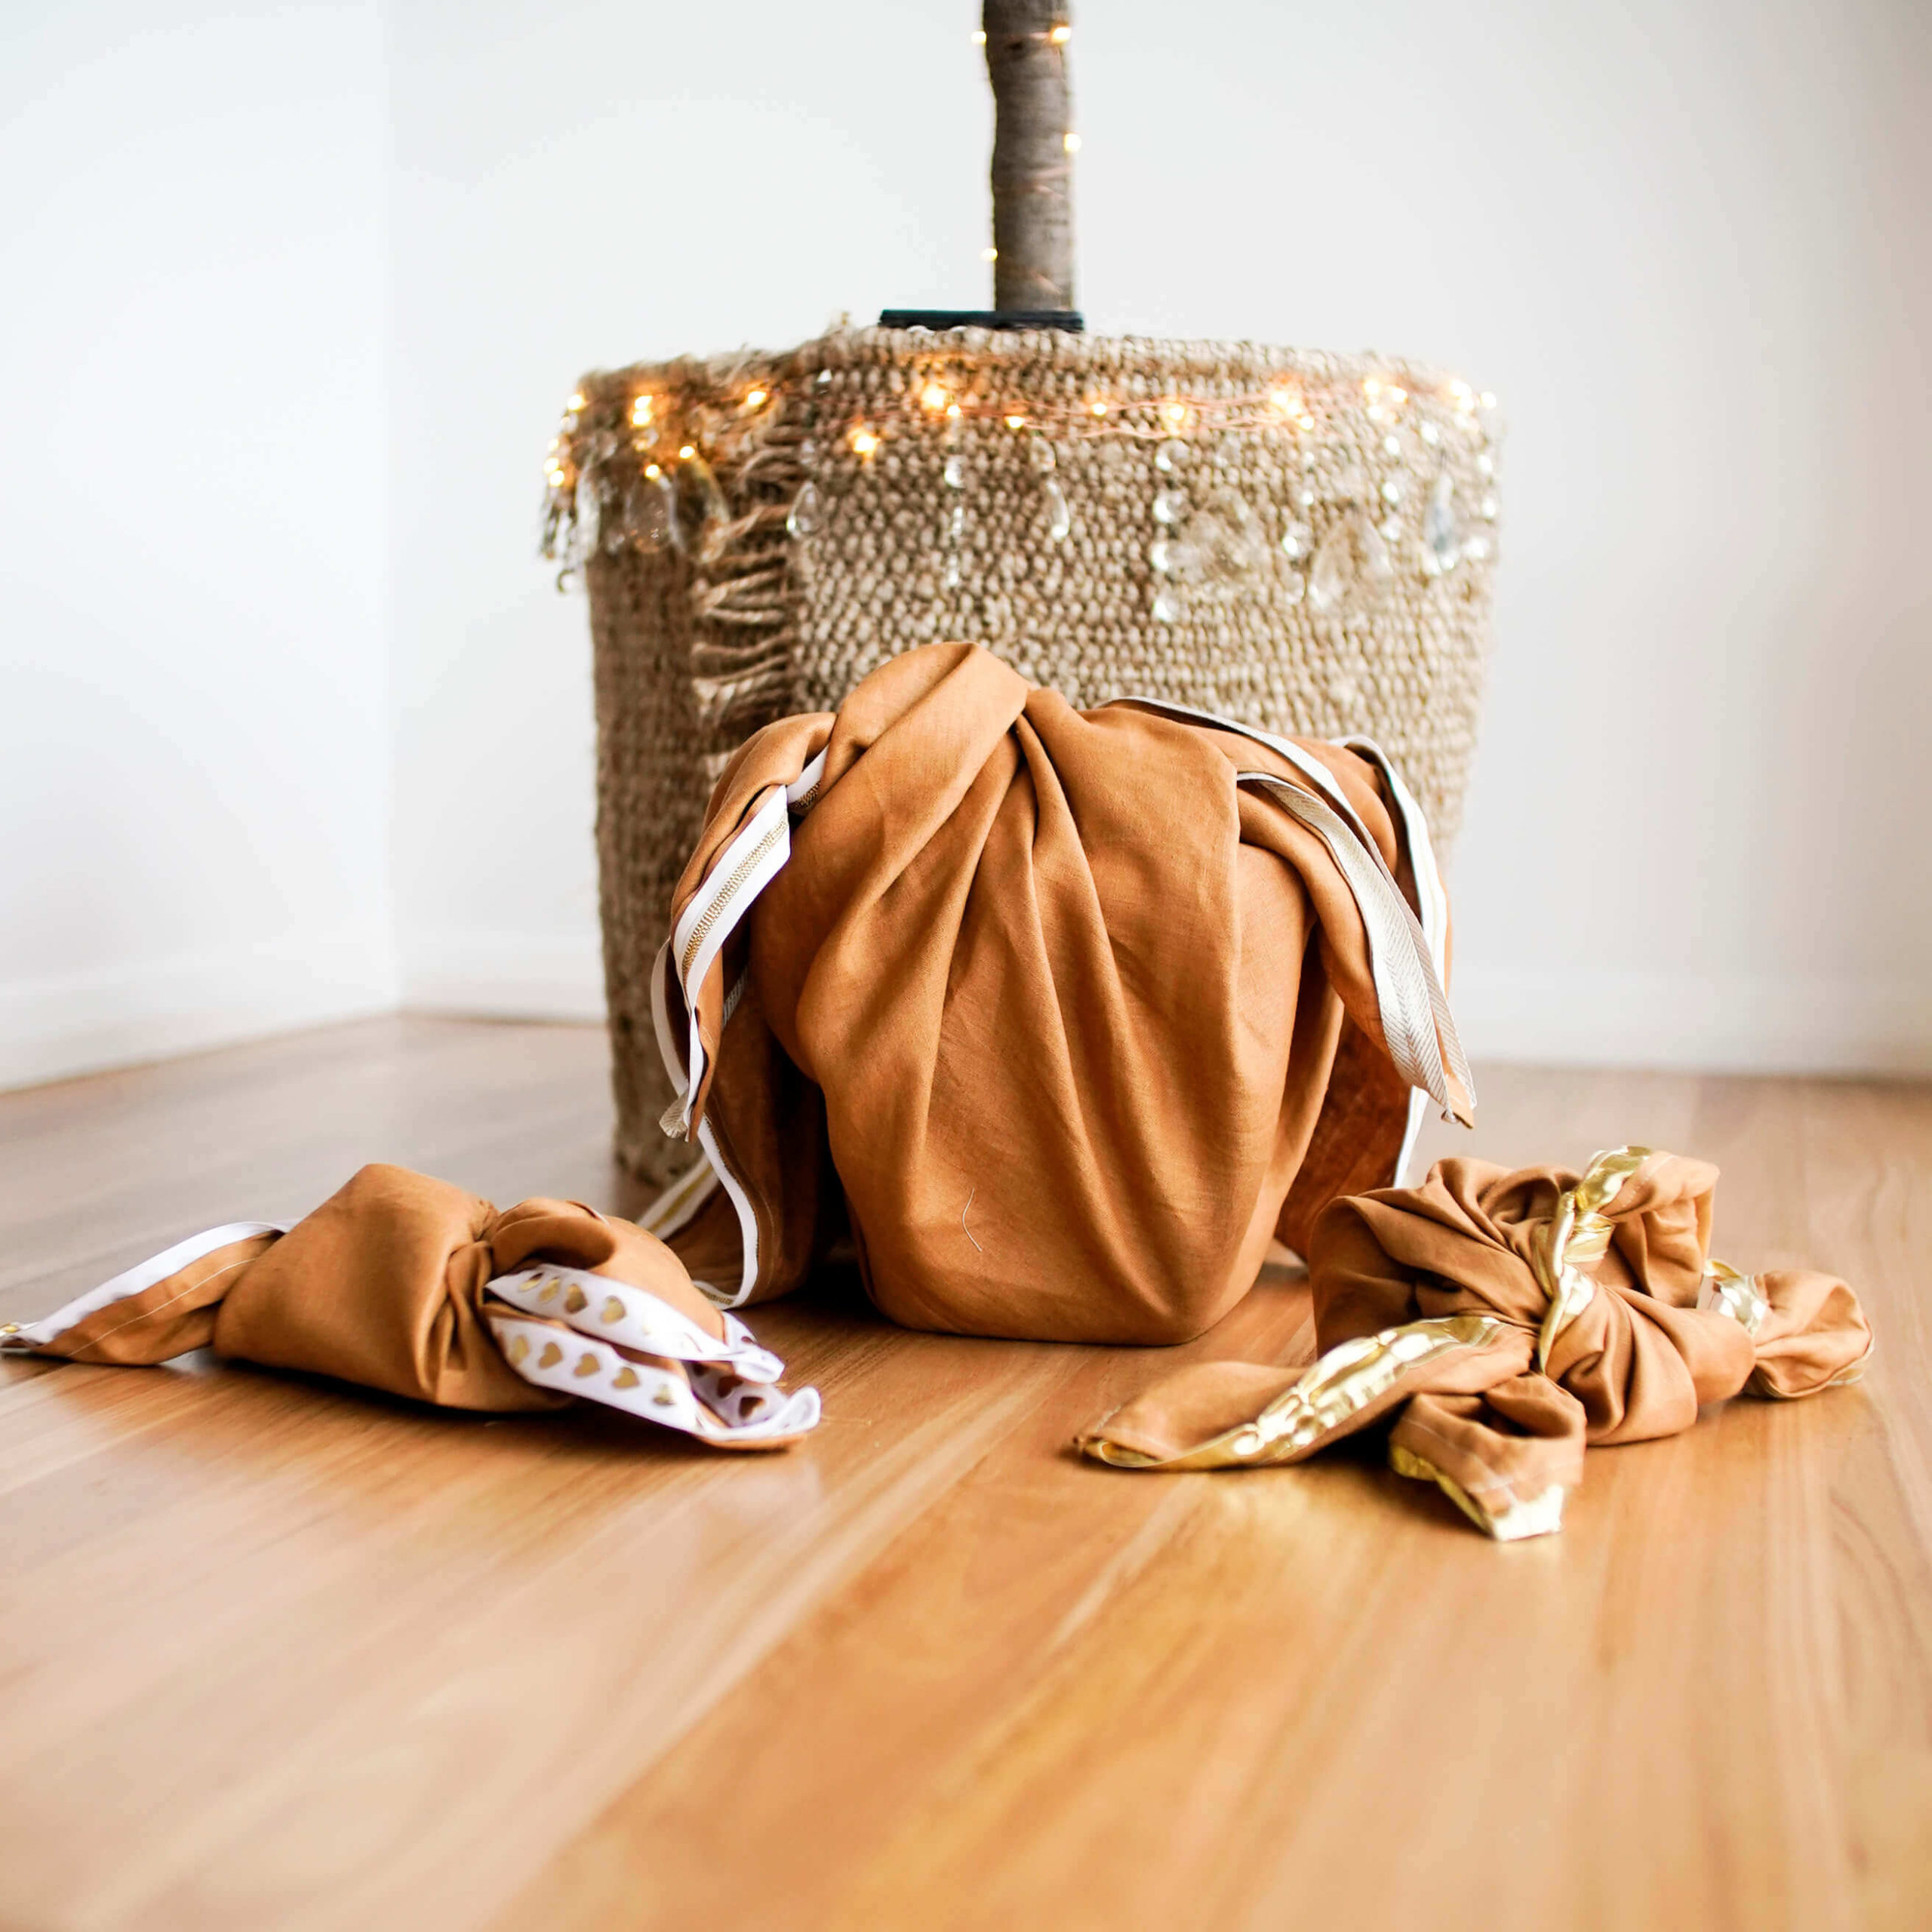
We will be spending the season enjoying Nana’s Pickled Cucumbers and Matt’s Chill Jam, as we gather together under our native Christmas Tree, and for the first time, share presents we have wrapped with our Handmade Reusable Wrap. I can’t wait!