Three Steps for Simple Reusable Wrapping Paper

Each year we like to challenge ourselves to live more sustainably. As a result, we very rarely put out our Landfill Bin and have managed to establish a really easy plastic-free packed lunch routine for the adults and kids alike.

At Christmas time, it does often seem a little more challenging. Our Christmas is a very large extended family affair with lots of children, and so after sharing gifts, we often end up with a floor of wrapping. Whilst we always purchase recycled paper and reuse or recycle, there is no doubt we can do better.
This year we have committed to making our own reusable Christmas Wrapping, which we will repack with the decorations for next year. I’m certainly a sewing novice, and am hoping that no one looks too closely at the stiches, however in truth, the process was a lot quicker and easier than I expected. Our 10 year old even ended up sewing for the first time and took over the production side!

Step One
Choose your Material & optional Trim. We were unable to purchase any recycled material unfortunately, so selected a Linen option, as it is a little more sustainable using much less water to produce compared to cotton. We purchased 5 meters, with a number of presents to wrap. We also decide to use a trim, and given the kids chose, we selected the brightest most festive options possible.

Step Two
Cut the material to size. We wanted to have a generous gathering to knot the top, so we simply folded the fabric over on the diagonal to mark out large squares and then cut. We then cut some squares into four squares, resulting in a few large and some smaller wraps.
Note – The knot design we have chosen does use a lot of material. Instead if you use ribbon to secure the material in a more traditional way, the fabric can be cut closer to the size of the gifts being wrapped. This will means you will get more wraps out of the same material.
Step Three.
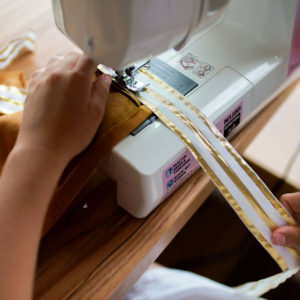
Fold the edge and then iron to secure the fold. Repeat this again to create a double fold. Using a sewing machine, sew the double fold into place. We also added our ribbon trim as we stitched to save time, however you can separate these steps if you prefer. Given the wrap will only be used to secure gifts, a single stitch will suffice.
It’s as simple as that. We then placed treasures such as the Christmas Kitchen Caddy Kit onto the centre of the wrap and knotted both corners to fold. One thing to note, the gifts are easily unwrapped, so I will be adding some extra ribbon to secure the knot for those who won’t be able to resist peaking at what’s under the tree.. like the kids and Pete!
We would love to hear any other ideas you have for making Christmas even more sustainable.
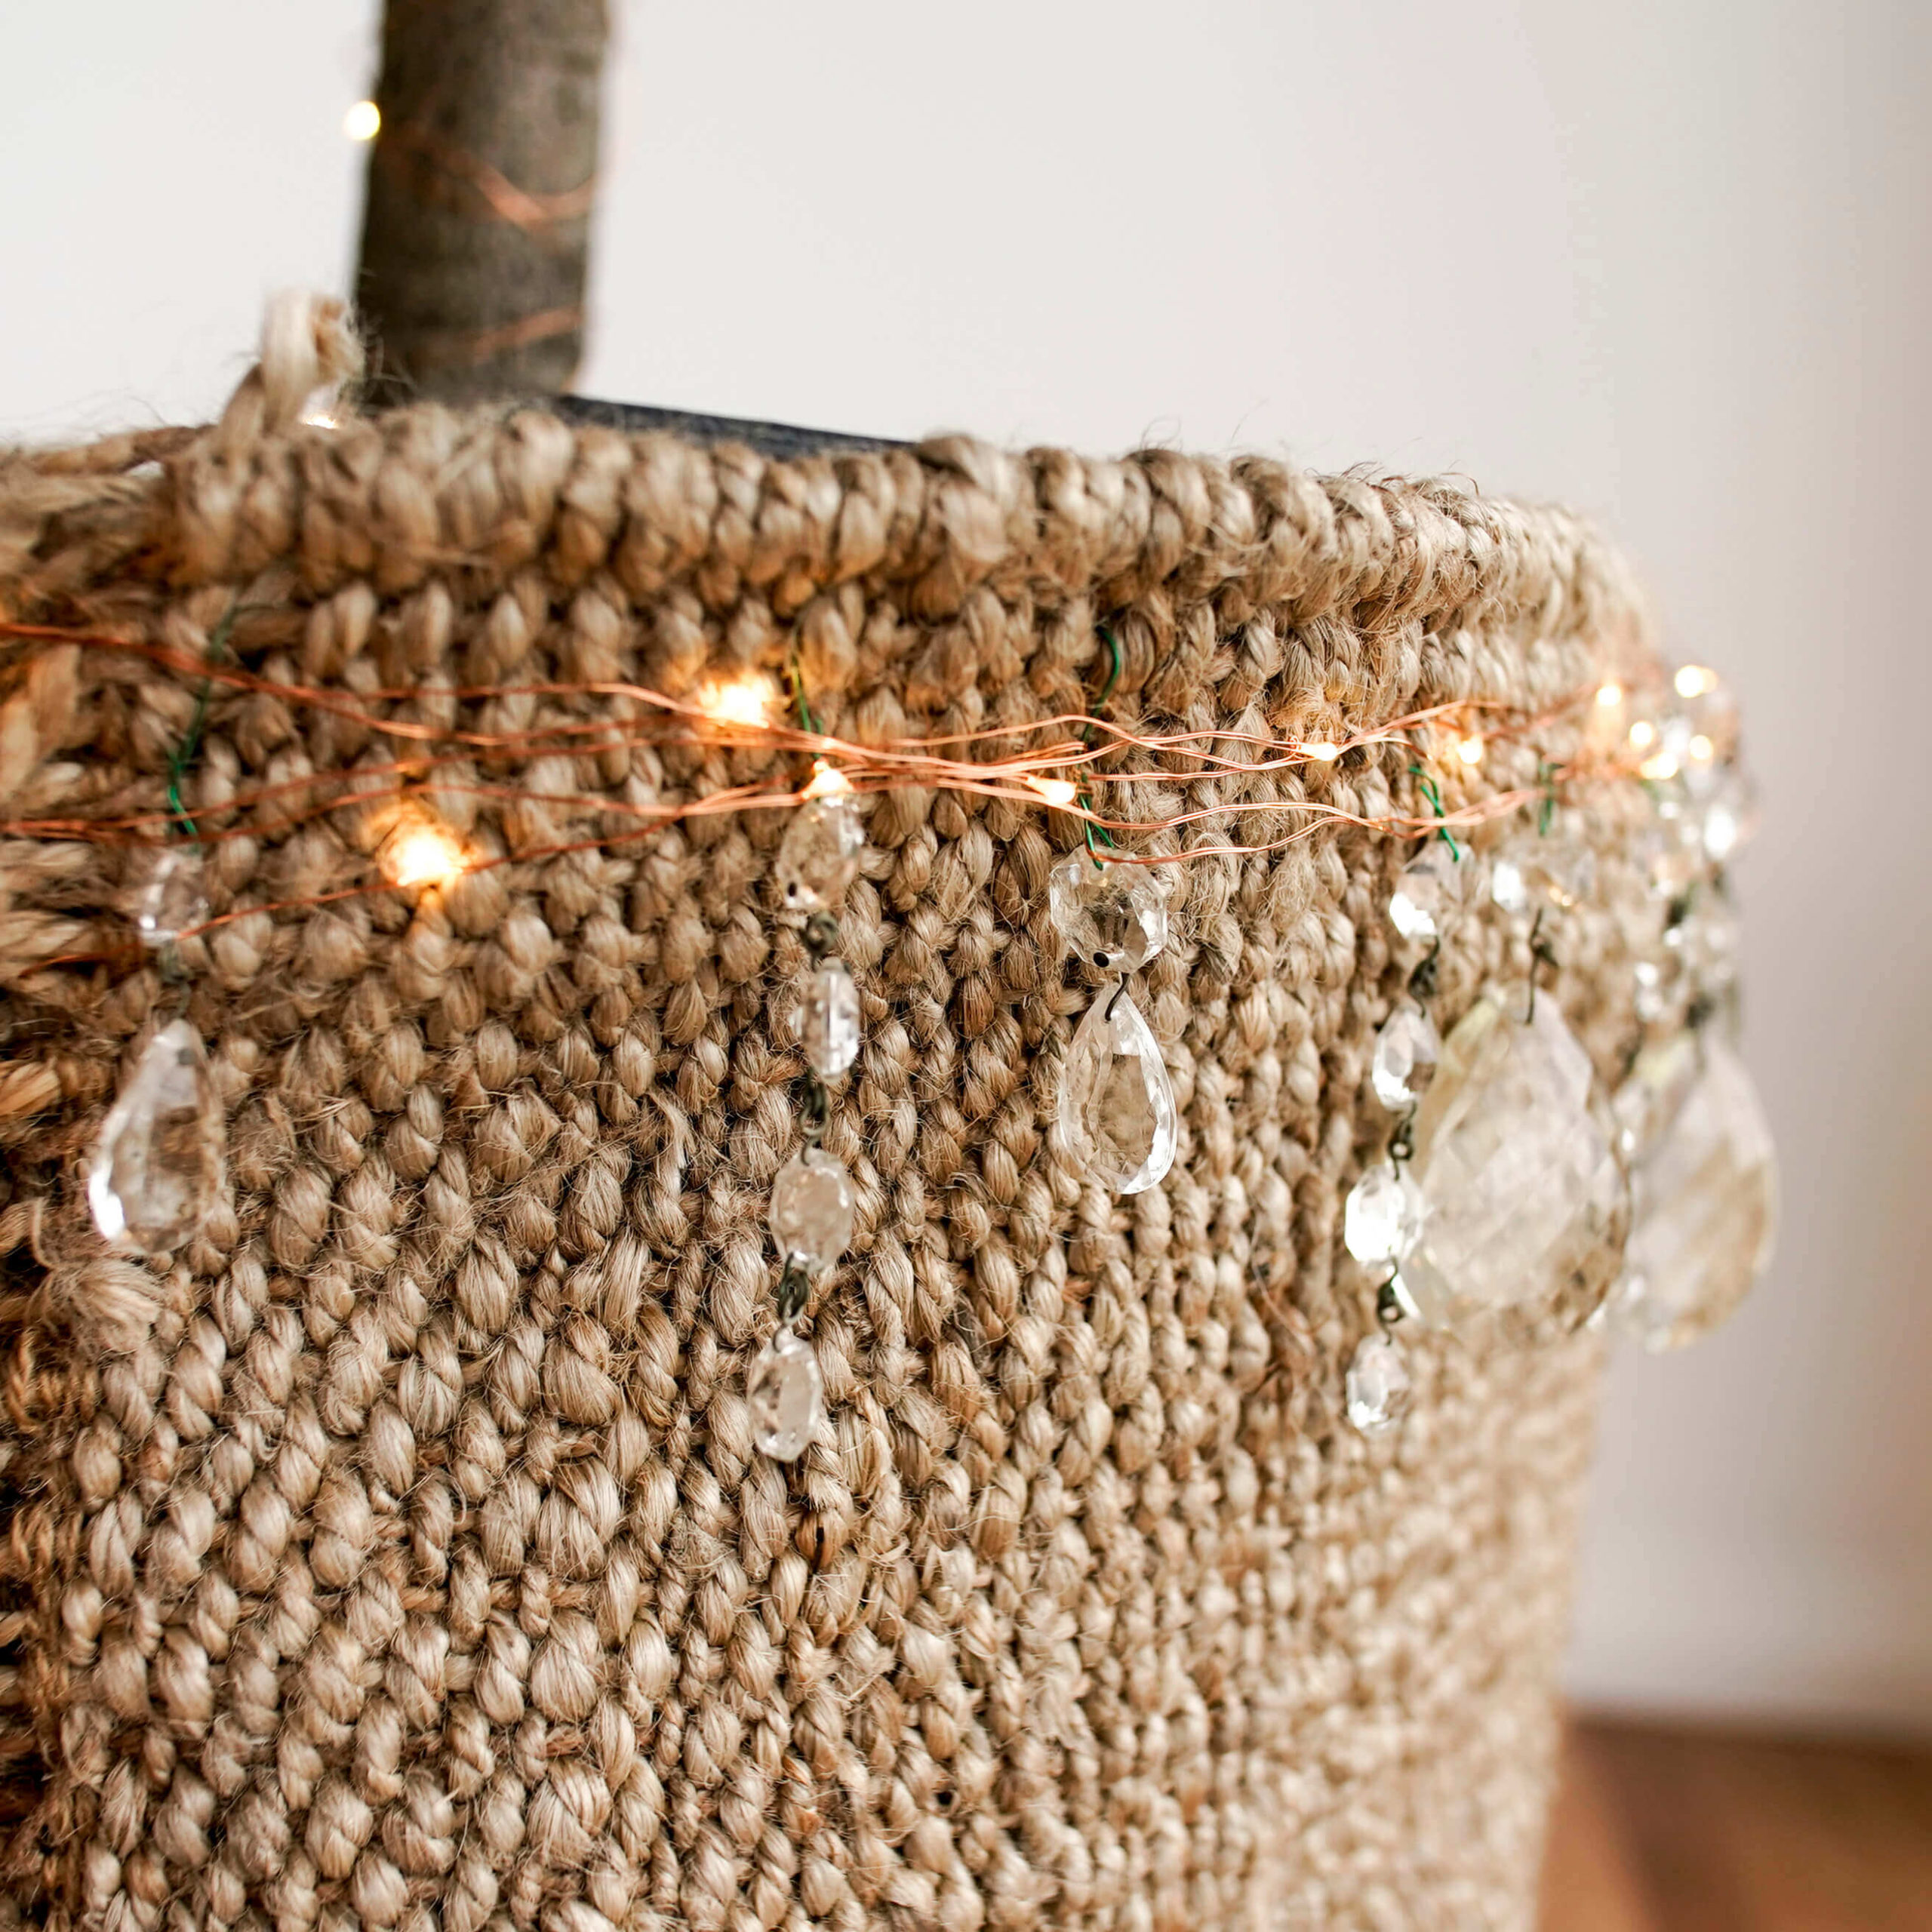
Our family always gather under our Native Australian Christmas Tree, and we have some favorite old-fashion recipes we prepare every year to help us reduce our food waste. You can check them out here, Matt’s Stolen Chilli Jam Recipe, Nana’s Pickled Cucumbers